Configuring Taxes
Taxes must be configured in the system, then products which should be taxed must have the "taxable" setting enabled on their price(s)
Note: For clients with an Avalara integration, a list of taxes is automatically generated and will appear in this section. These auto-generated records and the data therein are pulled from Avalara and should not be edited or deleted. For more information, see the help topic: Using the re:Members AMS Avalara Integration
-
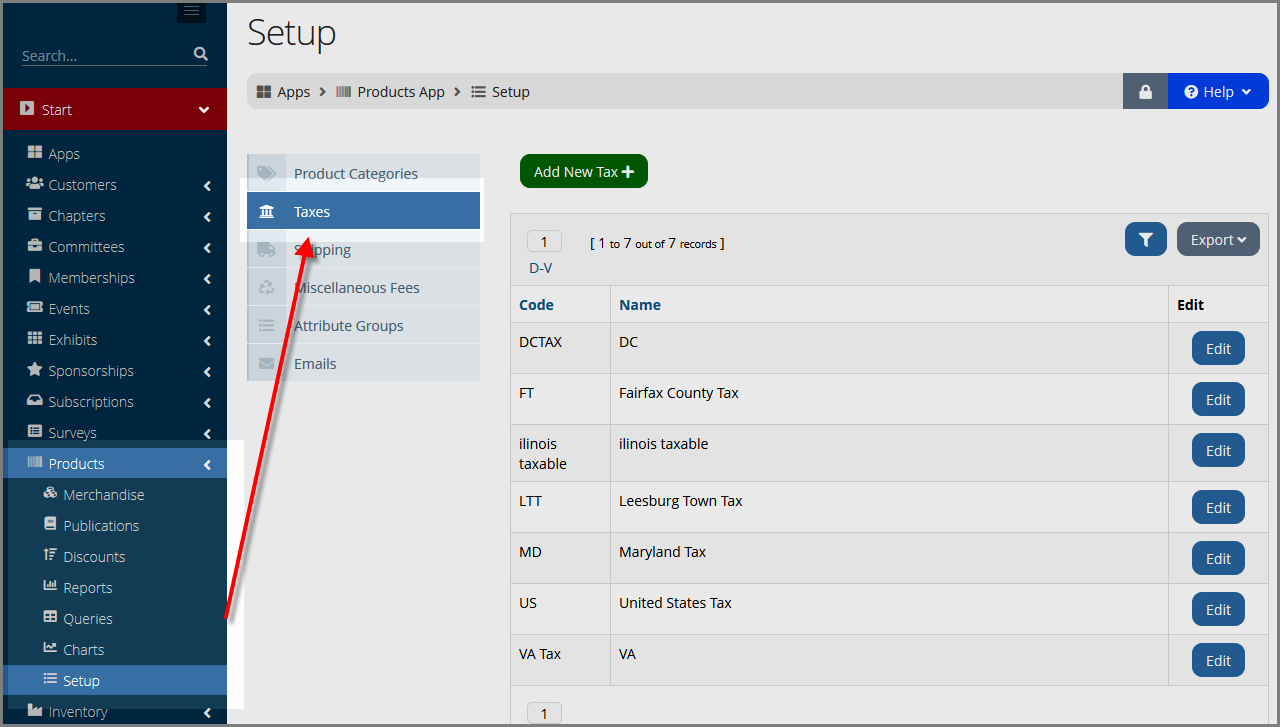
Navigate to the Products App > Setup feature.
-
Under Setup, select the Taxes menu option.
-
Click the Add New Tax button.
-
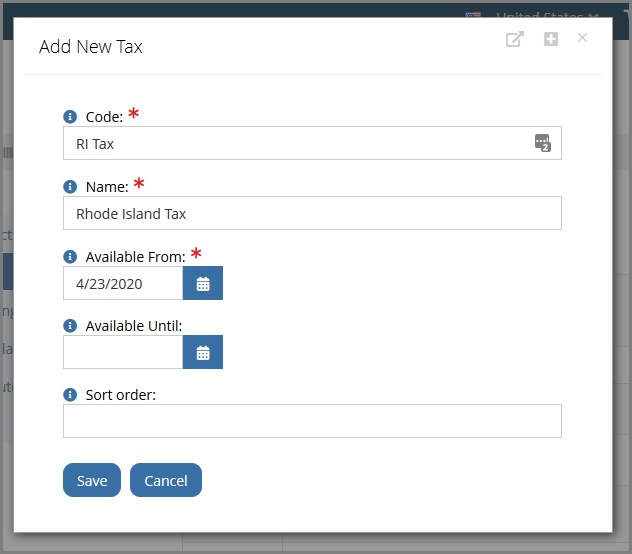
In the Add New Tax form, complete all required fields (marked with an asterisk).
-
Code: An abbreviated code for the new tax record.
-
Name: A brief but descriptive name for the tax.
-
Available From: Choose the date on which the tax should become active.
-
Available Until: The end date, after which the tax is disabled.
-
-
Click Save.
The new tax is added to the list. Click the Edit button next to it to complete setup. -
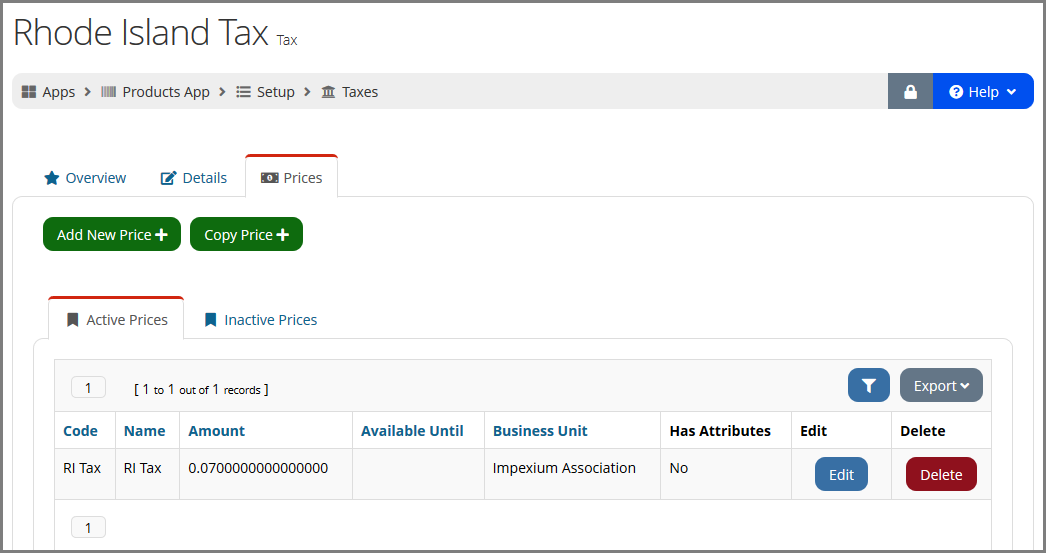
In the Tax Record, click the Prices tab.
-
Click Add New Price.
-
In the Add New Price form, complete all required fields as normal (marked with an asterisk).
-
A key difference in price creation on the Tax Record is the State field. Ensure the correct state is selected in the drop-down. Note that there is no field to enter the price amount: the system automatically enters the current tax amount for the selected state.
-
Click Save to save the new price.
-
Setting a Product as Taxable
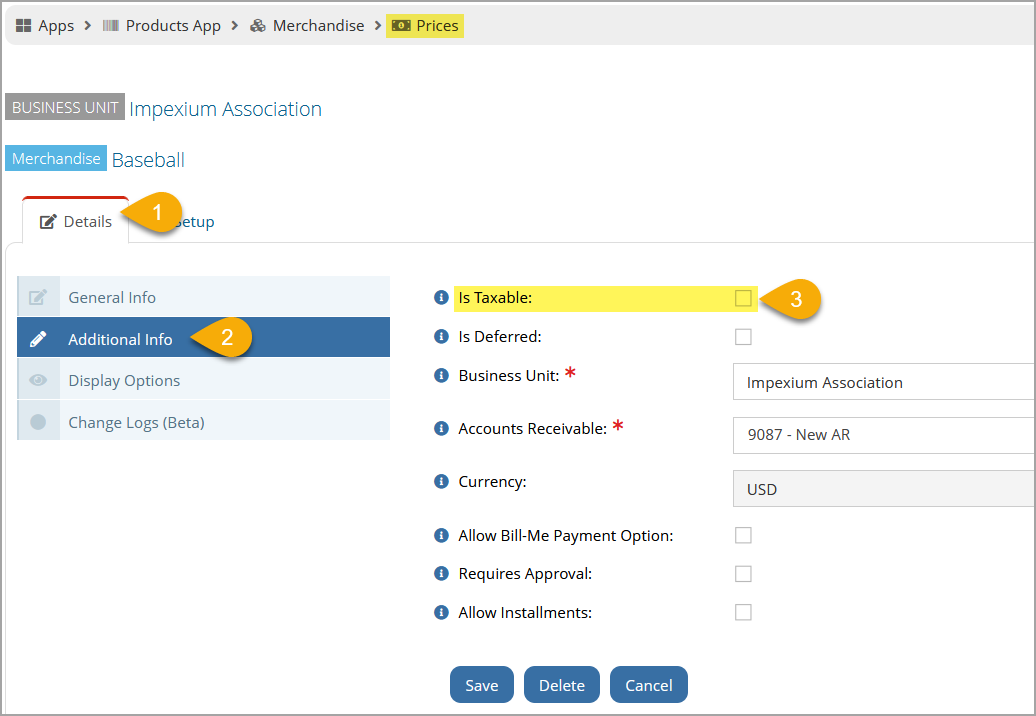
Once tax information is set up, the products which should be taxed must have the "taxable" setting enabled on the Product Record > Prices tab > Prices menu option > Price Record.


